Hoe je eenvoudig een thermostatische badkraan installeert
Volg de stapsgewijze installatie-instructie om jouw nieuwe GROHE product eenvoudig te installeren.
VOORBEREIDING
![](http://cdn.cloud.grohe.com/Web/local_assets_4_3/service/fr_fr/03__install_thm_bath/4_3/960/03__install_thm_bath_4_3.jpg)
Spoel voor installatie de waterleidingen goed door om vervuiling zoals bijv. zand te verwijderen. Zo voorkom je beschadiging van de kraan.
![](http://cdn.cloud.grohe.com/Web/local_assets_4_3/service/fr_fr/install-thermostatic-bath-mixer-3_4_3/4_3/960/install-thermostatic-bath-mixer-3_4_3_4_3.jpg)
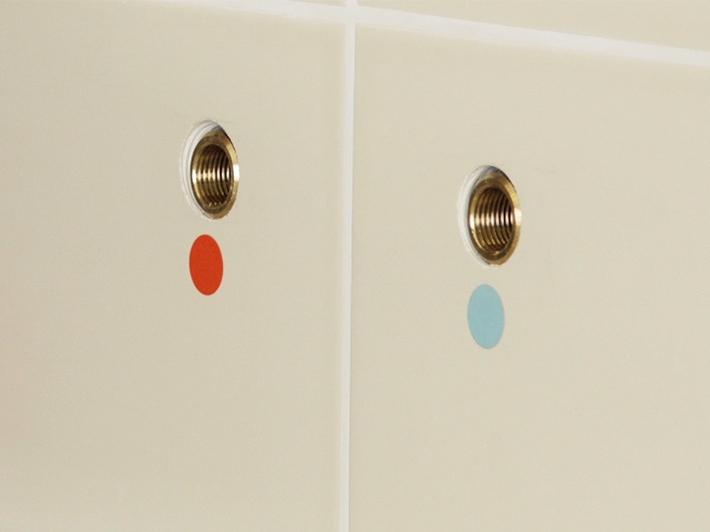
Controleer of de warmwatertoevoer zich bevindt aan de linkerkant en de koudwatertoevoer aan de rechterkant. Neem contact op met een installateur als dat niet het geval is.
![](http://cdn.cloud.grohe.com/Web/local_assets_4_3/service/fr_fr/install-thermostatic-bath-mixer-4_4_3/4_3/960/install-thermostatic-bath-mixer-4_4_3_4_3.jpg)
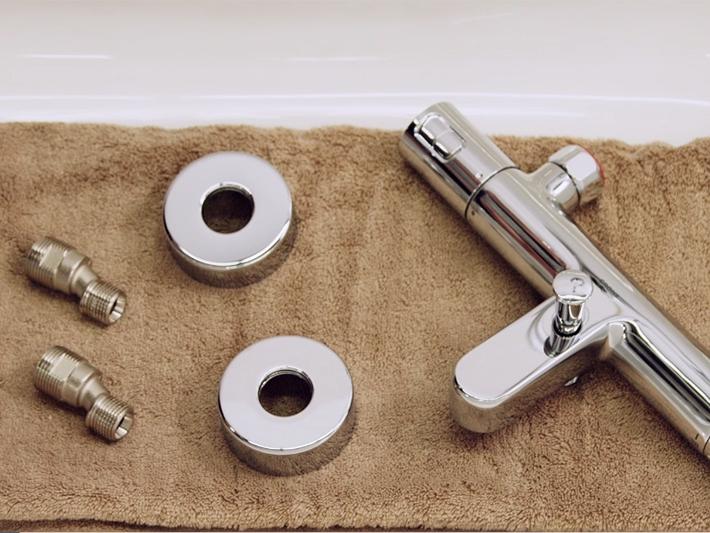
Zorg dat je de onderdelen en het gereedschap bij de hand hebt.
Sluit de watertoevoer voordat je je oude kraan er af haalt.
VOORBEREIDING
![](http://cdn.cloud.grohe.com/Web/local_assets_4_3/service/fr_fr/install-thermostatic-bath-mixer-5_4_3/4_3/960/install-thermostatic-bath-mixer-5_4_3_4_3.jpg)
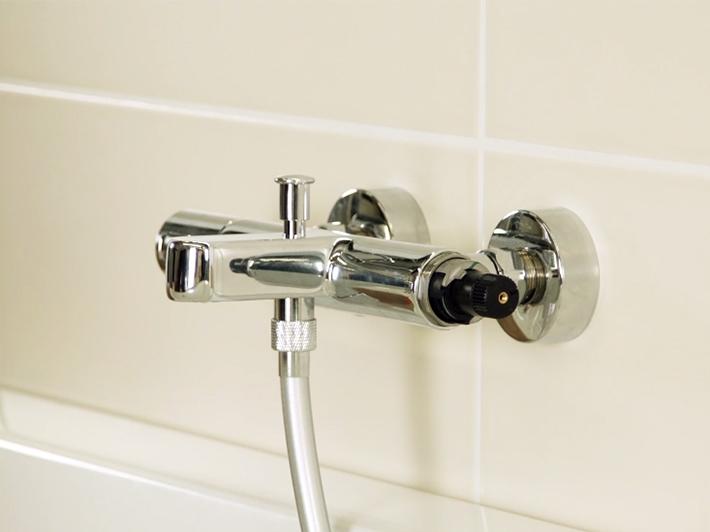
1- Schroef de S-koppelingen in de muur zodat ze ongeveer 42 mm uitsteken.
![](http://cdn.cloud.grohe.com/Web/local_assets_4_3/service/fr_fr/install-thermostatic-bath-mixer-6_4_3/4_3/960/install-thermostatic-bath-mixer-6_4_3_4_3.jpg)
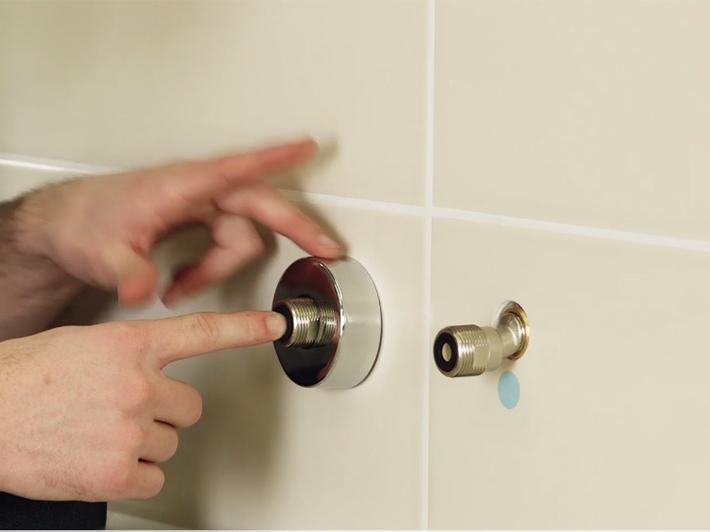
2 - Schroef de rozetten op de muur.
![](http://cdn.cloud.grohe.com/Web/local_assets_4_3/service/fr_fr/install-thermostatic-bath-mixer-7_4_3/4_3/960/install-thermostatic-bath-mixer-7_4_3_4_3.jpg)
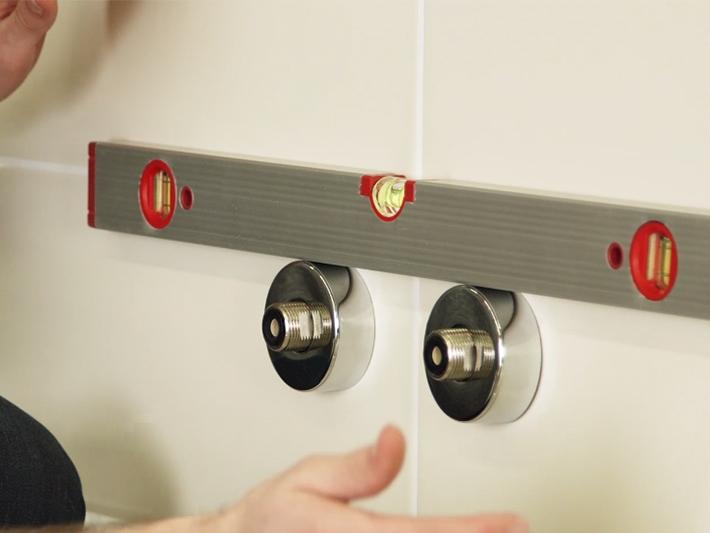
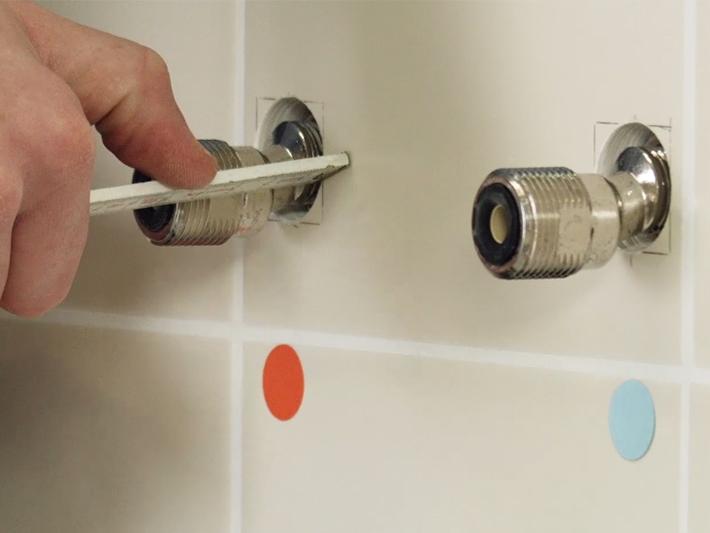
3 - Zorg dat de hartafstand tussen 150 mm is en check of ze waterpas zijn. Pas aan als het nodig is.
![](http://cdn.cloud.grohe.com/Web/local_assets_4_3/service/fr_fr/install-thermostatic-bath-mixer-8_4_3/4_3/960/install-thermostatic-bath-mixer-8_4_3_4_3.jpg)
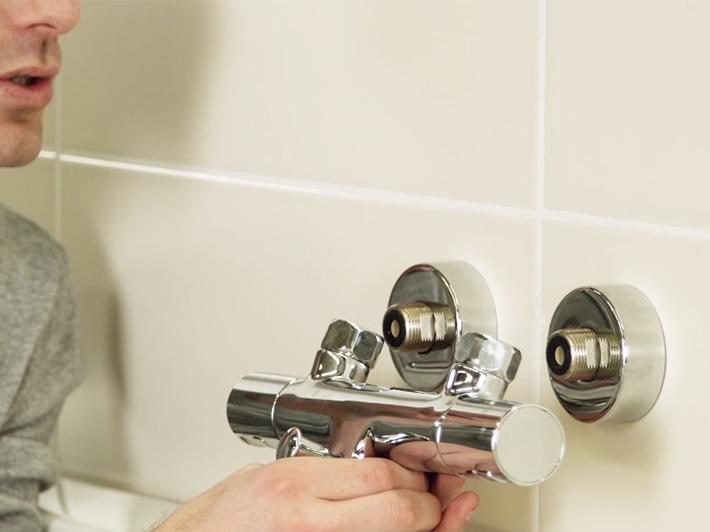
4 - Plaats de thermostaatkraan en draai stevig vast. De moeren mogen de rozetten niet aanraken. Pas aan indien nodig en stel de kraan opnieuw waterpas.
![](http://cdn.cloud.grohe.com/Web/local_assets_4_3/service/fr_fr/install-thermostatic-bath-mixer-9_4_3/4_3/960/install-thermostatic-bath-mixer-9_4_3_4_3.jpg)
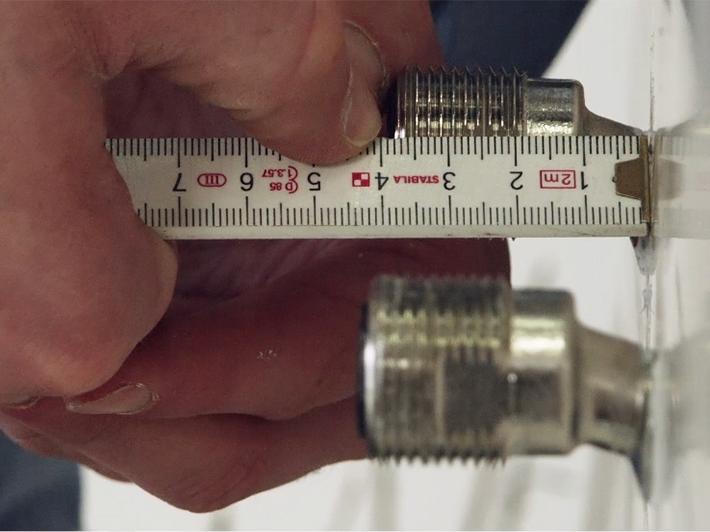
5 - Demonteer vervolgens de kraan van de muur. Noteer de diepte tussen de S-koppelingen en de muur.
DE THERMOSTAATKRAAN INSTALLEREN
![](http://cdn.cloud.grohe.com/Web/local_assets_4_3/service/fr_fr/install-thermostatic-bath-mixer-10_4_3/4_3/960/install-thermostatic-bath-mixer-10_4_3_4_3.jpg)
1 - Tape het schroefdraad van de S-koppelingen in met tefton tape, in de richting van het schroefdraad.
![](http://cdn.cloud.grohe.com/Web/local_assets_4_3/service/fr_fr/install-thermostatic-bath-mixer-11_4_3/4_3/960/install-thermostatic-bath-mixer-11_4_3_4_3.jpg)
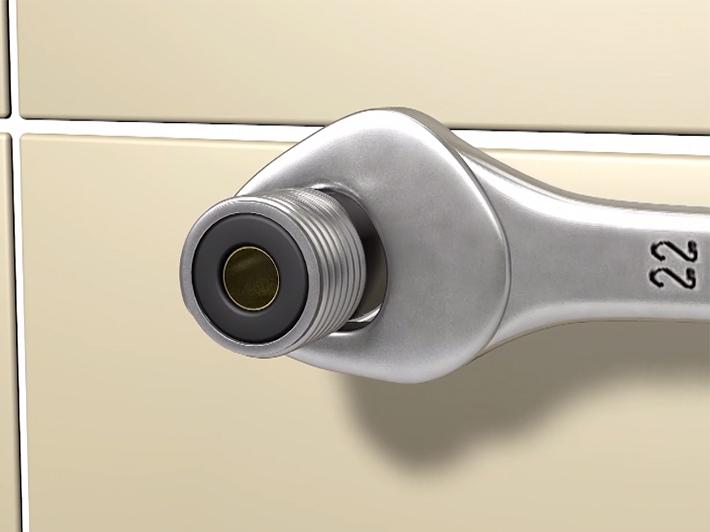
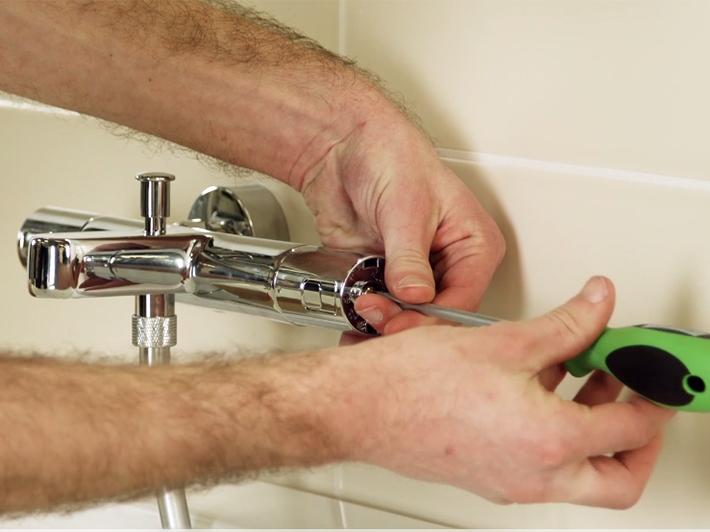
2 - Draai de S-koppelingen vast met een 22 mm steeksleutel.
![](http://cdn.cloud.grohe.com/Web/local_assets_4_3/service/fr_fr/install-thermostatic-bath-mixer-12_4_3/4_3/960/install-thermostatic-bath-mixer-12_4_3_4_3.jpg)
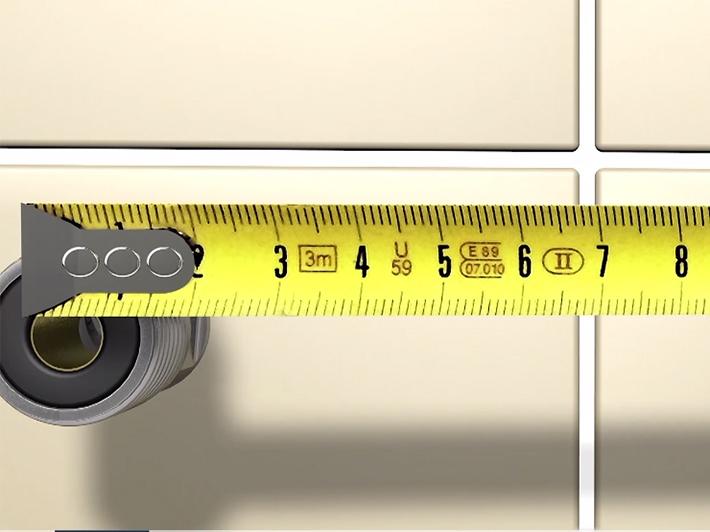
3 - Pas the koppelingen zo aan dat de hartafstand tussen de S-koppelingen 150 mm is en op dezelfde diepte als je eerder hebt genoteerd. Controleer de horizontale positie met een waterpas.
![](http://cdn.cloud.grohe.com/Web/local_assets_4_3/service/fr_fr/install-thermostatic-bath-mixer-13_4_3/4_3/960/install-thermostatic-bath-mixer-13_4_3_4_3.jpg)
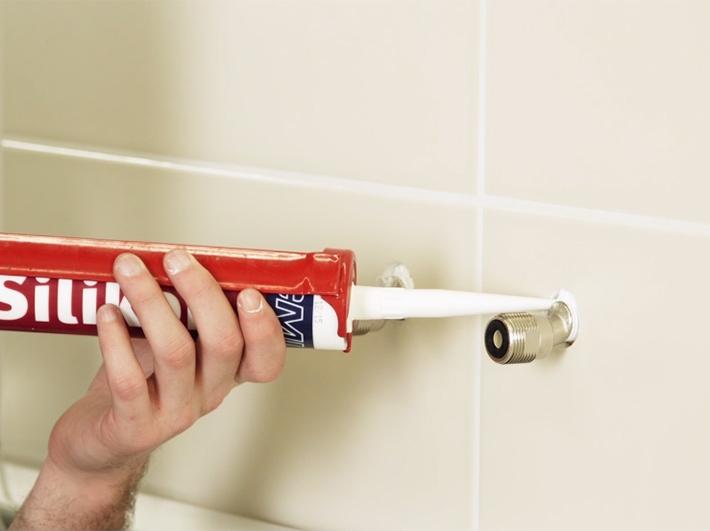
4 - Plaats een siliconen dichting tussen de muur en de S-koppelingen.
![](http://cdn.cloud.grohe.com/Web/local_assets_4_3/service/fr_fr/install-thermostatic-bath-mixer-14_4_3/4_3/960/install-thermostatic-bath-mixer-14_4_3_4_3.jpg)
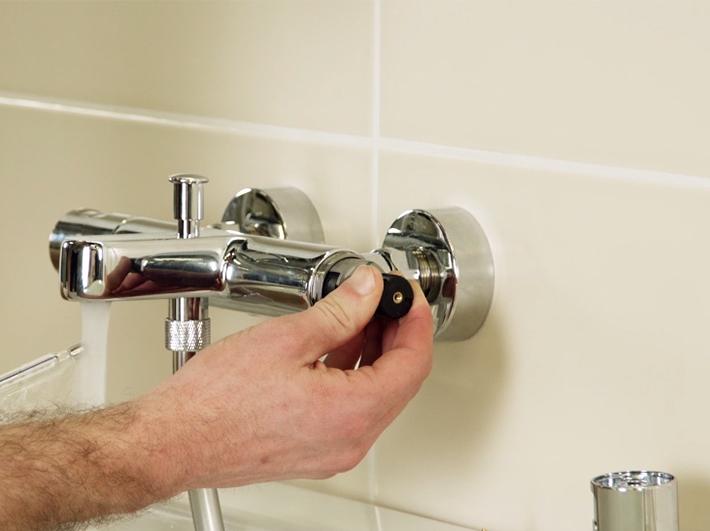
5 - Schroef de rozetten op de S-koppelingen.
![](http://cdn.cloud.grohe.com/Web/local_assets_4_3/service/fr_fr/install-thermostatic-bath-mixer-15_4_3/4_3/960/install-thermostatic-bath-mixer-15_4_3_4_3.jpg)
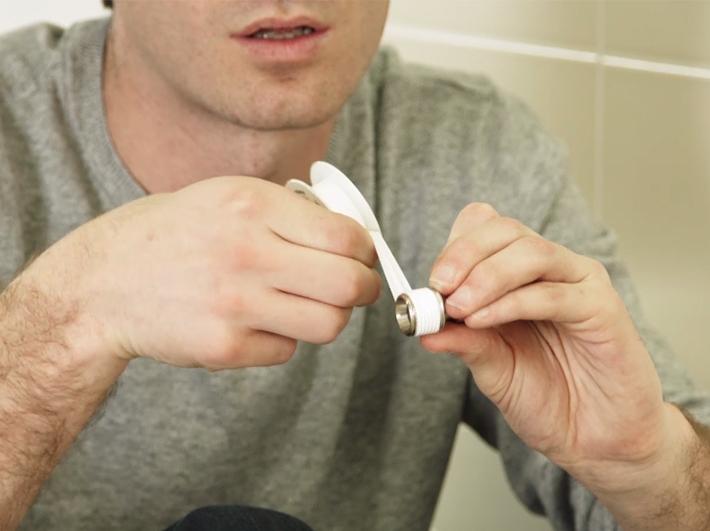
6 - verwijder dan de rode en blauwe dopjes van de kraan. Zorg ervoor dat de filters goed zijn geplaatst, met de bolle kant naar binnen.
![](http://cdn.cloud.grohe.com/Web/local_assets_4_3/service/fr_fr/install-thermostatic-bath-mixer-16_4_3/4_3/960/install-thermostatic-bath-mixer-16_4_3_4_3.jpg)
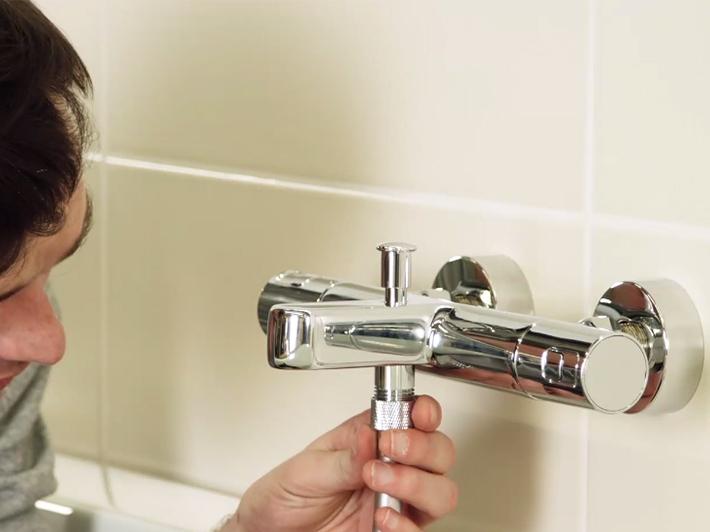
7 - Plaats de kraan op de S-koppelingen, zonder toevoeging van extra tape en draai de moeren aan met behulp van een 32 mm steeksleutel.
![](http://cdn.cloud.grohe.com/Web/local_assets_4_3/service/fr_fr/install-thermostatic-bath-mixer-17_4_3/4_3/960/install-thermostatic-bath-mixer-17_4_3_4_3.jpg)
8 - Gebruik een waterpas om de positie van de kraan te controleren en pas aan indien nodig. Controleer op lekkage door de watertoevoer aan te zetten.
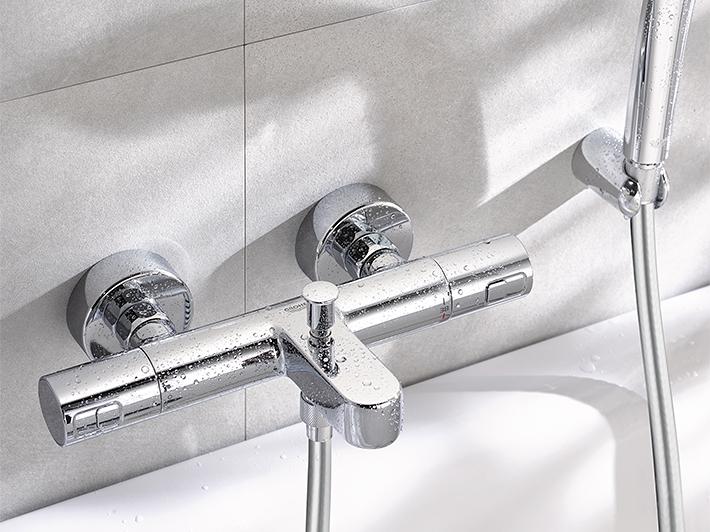
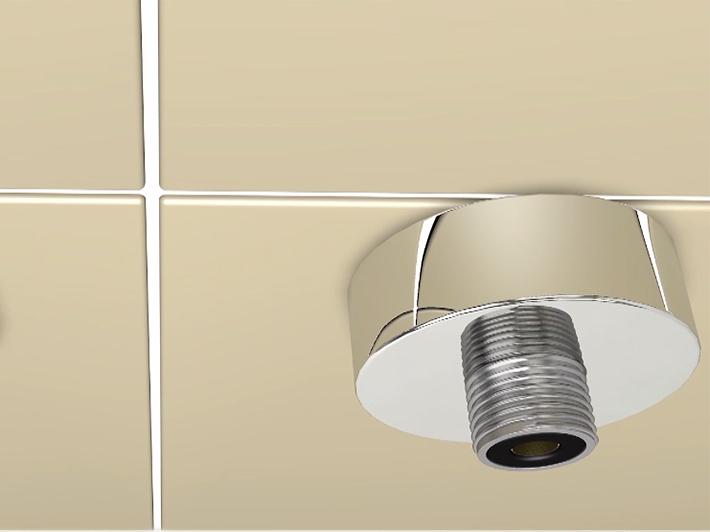
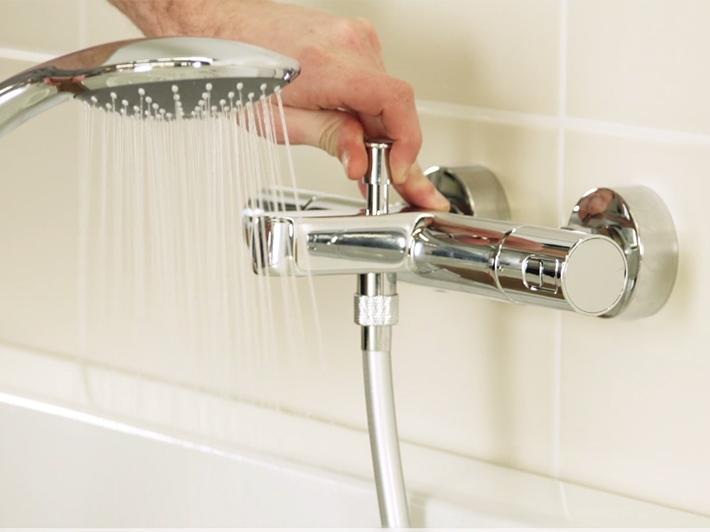
DE DOUCHESLANG AANSLUITEN
![](http://cdn.cloud.grohe.com/Web/local_assets_4_3/service/fr_fr/install-thermostatic-bath-mixer-18_4_3/4_3/960/install-thermostatic-bath-mixer-18_4_3_4_3.jpg)
Zorg ervoor dat de afdichtingsring in de doucheslang juist geplaatst is en schroef de doucheslang aan de badkraan.
![](http://cdn.cloud.grohe.com/Web/local_assets_4_3/service/fr_fr/install-thermostatic-bath-mixer-19_4_3/4_3/960/install-thermostatic-bath-mixer-19_4_3_4_3.jpg)
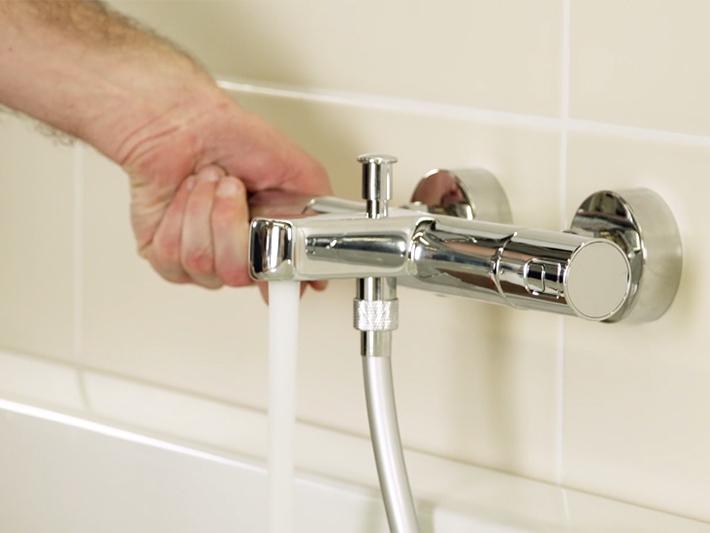
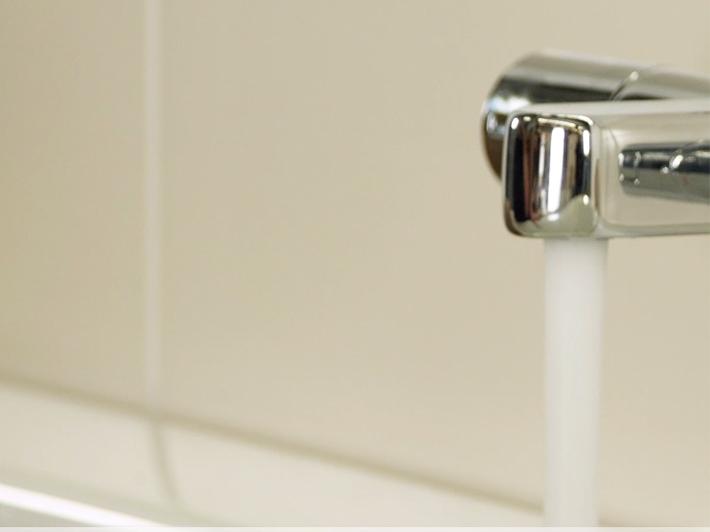
Druk op de bad/douche omstelling om de handdouche te gebruiken.
![](http://cdn.cloud.grohe.com/Web/local_assets_4_3/service/fr_fr/install-thermostatic-bath-mixer-20_4_3/4_3/960/install-thermostatic-bath-mixer-20_4_3_4_3.jpg)
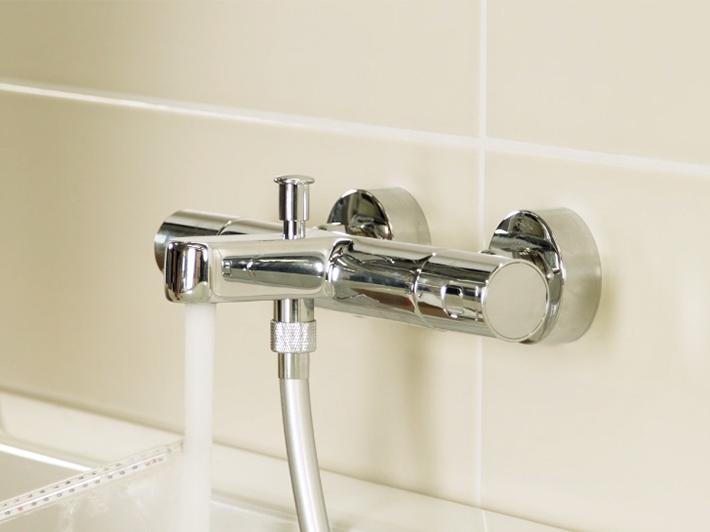
Zorg er voor dat de kraan goed werkt.
De thermostaatkraan afstellen
![](http://cdn.cloud.grohe.com/Web/local_assets_4_3/service/fr_fr/install-thermostatic-bath-mixer-21_4_3/4_3/960/install-thermostatic-bath-mixer-21_4_3_4_3.jpg)
1 - Gebruik een thermometer Draai de temperatuurgreep tot aan de 38ºC blokkering. Controleer de watertemperatuur. Als het water 38°C, dan is er geen aanpassing nodig.
![](http://cdn.cloud.grohe.com/Web/local_assets_4_3/service/fr_fr/install-thermostatic-bath-mixer-22_4_3/4_3/960/install-thermostatic-bath-mixer-22_4_3_4_3.jpg)
2 - Als er wel een temperatuur aanpassing nodig is, verwijder het afdekkapje van de greep met een kleine, platte schroevendraaier.
![](http://cdn.cloud.grohe.com/Web/local_assets_4_3/service/fr_fr/install-thermostatic-bath-mixer-23_4_3/4_3/960/install-thermostatic-bath-mixer-23_4_3_4_3.jpg)
3 - Draai de schroef los en verwijder de greep.
![](http://cdn.cloud.grohe.com/Web/local_assets_4_3/service/fr_fr/install-thermostatic-bath-mixer-24_4_3/4_3/960/install-thermostatic-bath-mixer-24_4_3_4_3.jpg)
4 - Laat het water stromen. Pas de temperatuur aan door aan de gekartelde knop te draaien. totdat de watertemperatuur 38°C is.
Plaats de greep terug met de markering op de 38°C. Schroef de greep vast en plaats het afdekkapje er weer op.
![](http://cdn.cloud.grohe.com/Web/local_assets_4_3/service/fr_fr/final_4_3/4_3/960/final_4_3_4_3.jpg)
Gefeliciteerd, je bent klaar met het installeren van je nieuwe GROHE kraan. Bekijk onze andere installatievideo's en ontdek alle GROHE producten op grohe.nl.